Often times when repairing furniture, the veneer must be replaced. If you’ve read the article on how to reveneer a tabletop, you read that the top is placed in a press or between clamping cauls to clamp the veneer to the top. In some repairs, it’s not possible to put the part in a press due to the fact that it’s an integral part of a larger piece.
Such is the case with the piece on which I will demonstrate hammer veneering.
Hammer veneering is actually a misnomer. You do not pound on anything. The hammer is just the name of the tool for applying the veneer. There is no clamping required when hammer veneering. The hammer pushes the veneer into the glue line, then the glue itself draws the veneer down tight as it dries and cools.
Be prepared to get your hands covered in glue. Hammer veneering is a gooey process.
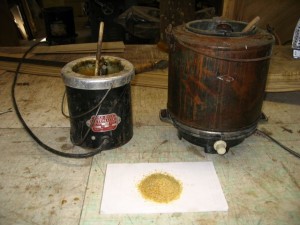
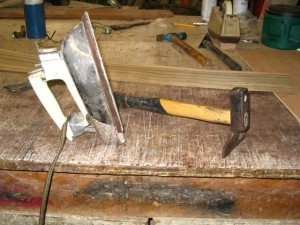
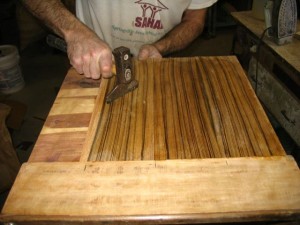
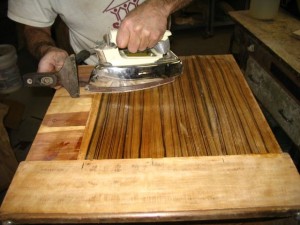
Figures 1 and 2 show the tools you will need.
Hide glue. Granular or flake.
Glue pot. Electric or double boiler
Veneer Hammer
Old clothes iron
To start, pour some glue and water into your gluepot, let this mixture heat up until it becomes the consistency of thick paint. Don’t worry if it’s too thick, add some water, too thin add some more glue.
Set the clothes iron on low.
All the old veneer must be removed. Use the technique described in How to reveneer a tabletop.
If the original veneer was put down with hide glue, then it is not necessary to get all the old glue off. The new hide glue will reactivate the old. Just be sure any areas or excess build up or voids are leveled.
Unlike veneering a tabletop, the veneer cannot be put down in one face. The plates must be applied one at a time.
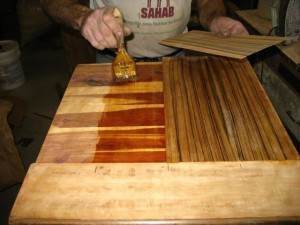
Find the centerline of the piece to be veneered and work out from there. Brush some hot glue to one side of this line the width of your plate.
Notice my pencil marks at the bottom of the picture.
Lay the plate, face down in the glue and brush some glue on the back of the plate.
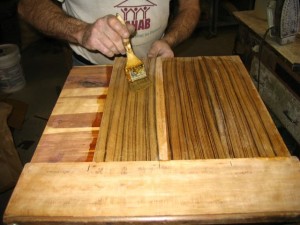
Now flip the plate over and use the hammer to press the glue lines together. Run it with the grain
Take the iron and reheat the glue line. I worked half the plate at a time here.
The glue that ends up on the front serves three functions; it balances the moisture in the veneer, acts as a lubricant for the hammer and enhances heat transfer during the ironing process.
Hide glue is very forgiving, if you make a mistake, just reheat the area and adjust the veneer.
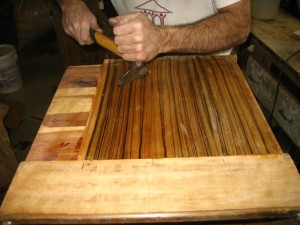
Once the glue is sufficiently heated, take the hammer and squeegee the excess glue towards the edges of the plate. Work in the direction of the grain with the hammer at an angle.
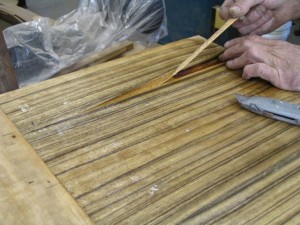
Take the next plate and apply it in the same manner, leaving some overlap on the previous plate.
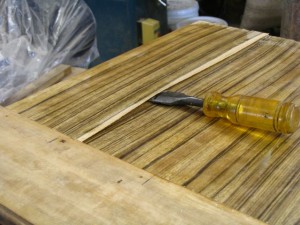
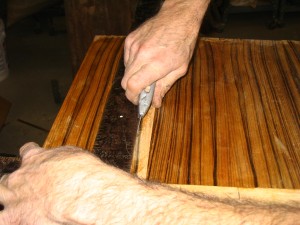
Take a straight edge and lay it over the overlap, cut through both layers of veneer at the same.
Take the next plate and apply it in the same manner, leaving some overlap on the previous plate.
Take the hammer and lay the joint down flush.
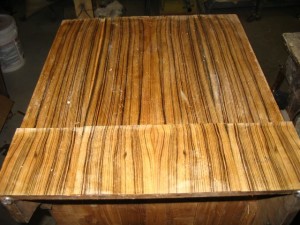
Figure 11 shows the finished job.
Let the veneer dry for at least 24 hours, it will then be safe to trim the edges and wash the excess glue off.
When dry, take the iron and iron down any bubbles, loose spots or stubborn areas that would not stay down during the initial hammering.
