
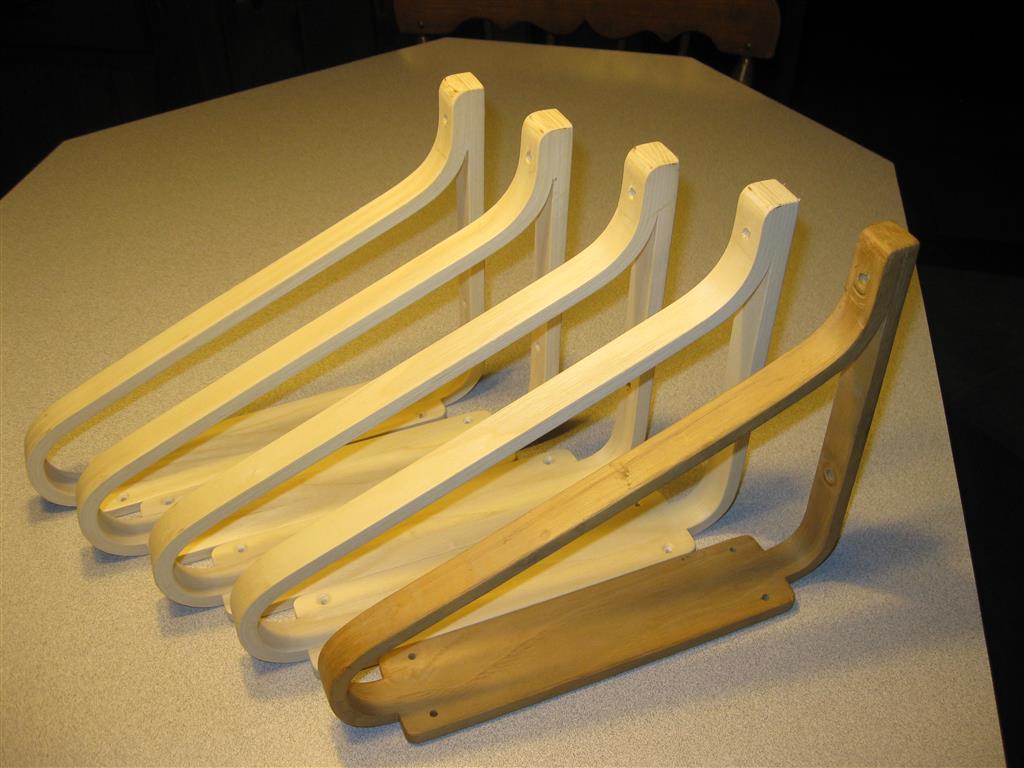
 Often times curved laminations are needed to produce a certain trim or accent piece or even a structural component of the furniture we are building. See the following examples:

The curved doors on the end of the peninsula are laminated.

These window frames are bent laminations.

The back slats are bent laminations.

Bent grillwork.

Laminated chair back
Below I will demonstrate some basic techniques to achieve the desired result.
The primary tool needed to create bent laminations is a vacuum press. The laminations can also be created with a male/female press, but this can be very time consuming and complicated with limited success.
First a bending form must be built. The form can be either male or female. I generally build male forms, as they tend to be better suited for the vacuum press as you’ll see later. The form must also be wider and longer then your finished piece. This allows you some wiggle room on your blank to machine the final bent part.
The form must be sturdy enough to withstand the pressure of the vacuum press. I always use 3/4″ stock to build the forms. It’s a good opportunity to use all that scrap plywood and MDF.
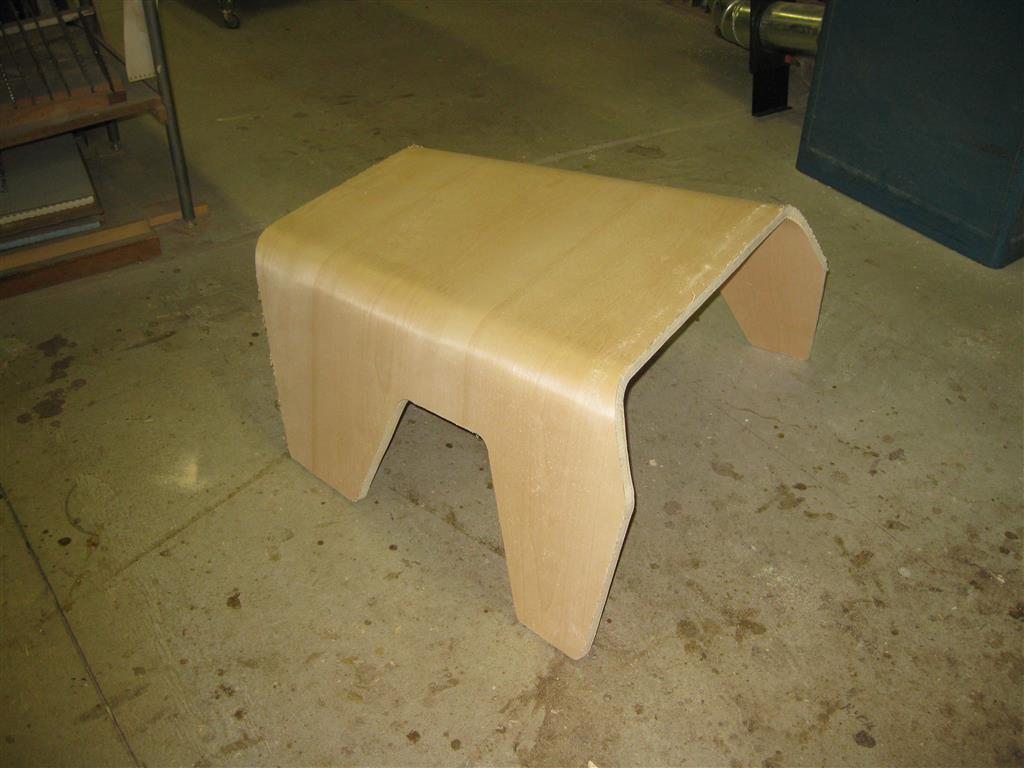
The ribs of the form must be 3/8″ less than the internal radius of the finished bend. The ribs will be covered with 3/8″ bending ply, bringing the form to the desired radius. I generally space the ribs no more than 1 1/2″ apart. Notice the left over blank, how it lays on the form and how much larger than the finished bend as mentioned earlier. See Figures 1, 2 and 2a

Figure 1

Figure 2
This is the form that was used to make the bent grillwork above.

Figure 2A
Create a template of the desired radius and use this to lay out the cut line on your rib material. Cut the blanks oversize. Finish one blank to final dimensions. This will be your master pattern. Now use double stick tape or screws to hold the master on the rest of the blanks. Use a flush trim bit to size the remaining blanks.
Mount these blanks on a study base. The form has to be able to withstand pressure from all sides, otherwise it will implode.
I use glue along with heavy-duty staples to assemble the form.
Cut a piece of 3/8″ bending ply to fit over the ribs. The face grain will run across the curve not around it. Staple this to the ribs. I cover the form with some 3mil plastic to keep the laminations from sticking to it.
The form is now ready for use.
Determine the number of plies you want to use on your lamination. Hint: the greater the number, the stiffer and less likely the lamination will be to spring back.
Cut the plies large enough to fill the form.
Now you’re ready to put the plies in the press. All the grain will be running in the same direction if you want the finished bend to look like it is solid wood. If that is not an issue and you want a really stiff finished part, you can alternate the grain in each layer by 90 degrees. See Figure 3

Figure 3
This is 3/8″ bending ply with 1/32″ veneer on both sides. Five plies with alternating grain direction. Very strong.
Roll out your glue with a standard 9″ paint roller on one face of each ply. I use white glue for all my layups. You’ll need to move quickly here. My 1/2″ thick blank took 16 plies to make. See Figure 4

Figure 4
Slide this whole thing into the vacuum press and wait at least two hours, longer if you can. That’s a lot of moisture that needs to dissipate from the layup. After you pull the blank from the press you are ready to machine your finished parts.
Good luck John