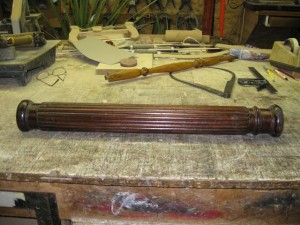
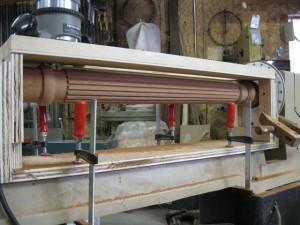
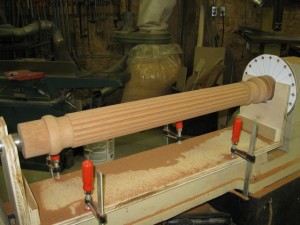
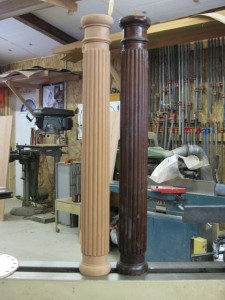
In this article I will describe how to create fluted or beaded columns. The process is the same for both, the only difference being the router profile you choose.
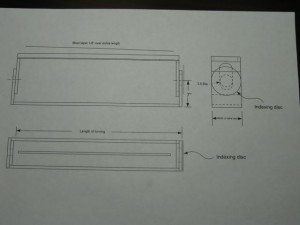
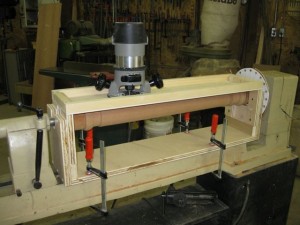
First the base profile of the column must be turned on your lathe. Then an indexing jig must be built to fit your lathe. This jig will carry a router along the column, parallel to its centerline.
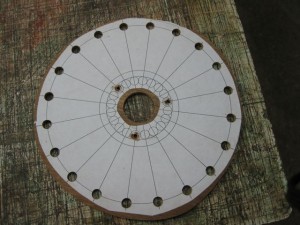
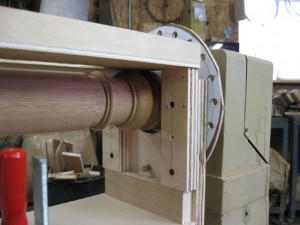
Then an indexing wheel must be made. This wheel gets attached directly to one end of your column.The increments on the wheel will corrospond to the number of flutes/beads you want on the column.
This wheel has 20 increments. My column has 20 beads, so 360 divided by 20 = every 18 degrees the wheel will rotate for another cut.
The larger of the two inner circles represents the diameter of the end of the column that the wheel will be attached to, the smaller is the diameter of the beads. The hole in the center is to allow the column to be remounted on the lathe centers.
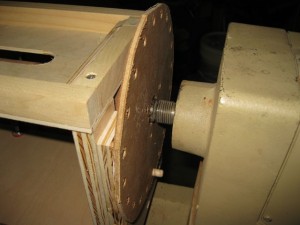
The small holes around the perimeter are the indexing holes for a pin to accurately lock the wheel at each location.
Indexing pin
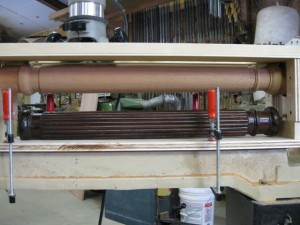
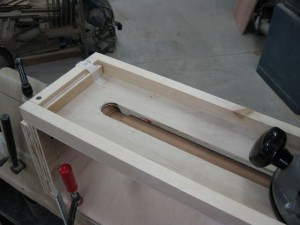
After the column, with the wheel attached, are mounted in the lathe, the tray part of the jig must be installed and accurately positioned.
My column actually has a 1/8″ taper, so the tray must taper 1/16″ over its lenght. To accurately do this I cut two guage blocks, one 1/16 narrower than the other and mounted them under the legs of the tray.
I also installed a stop block at each end of the tray so I wouldn’t hit the rings at either end of the column.
Indexing pin, wheel, tray and guage block just below pin.
Stop block in tray
Once you have all this set up, adjust your router bit the desired depth. In this example I used a 45 degree veining bit, set to just above the flat area at each end of the center section of the column, to cut the groove between the beads.
Lock the indexing wheel down and start cutting your flutes/beads. After each pass, park the router and pull the indexing pin, turn the wheel to the next location, insert pin and repeat until all the cuts are made.
In this example I had to do some scraping and sanding to finish the rounding of the beads.
