There are many approaches to hand cutting dovetails. In this article I will demonstrate how I like to do them.
There are two types of dovetails, through and blind, I will describe how to do both.
First I prepare all my drawer stock to final thickness, width, and length. Remember the parts will be the same lengths as the drawer width and depth for though dovetails and for blind tails the sides will be the drawer depth minus a distance from the outside face of the front and or back. More on this later.
I also make my parts about 1/8″ longer than the final dimensions of the finished drawer. This allows the pins and tails to protrude at the corners, to be sanded flush after assembly.
You’ll want to start cutting the pins on the fronts and backs first, before laying out the tails. The pins will actually be used to locate the tails, so it’s not critical that the pins be of uniform dimension or spacing.
You’ll cut the tails on the sides later, after the pins are cut.
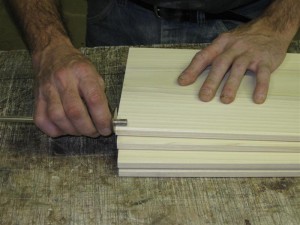
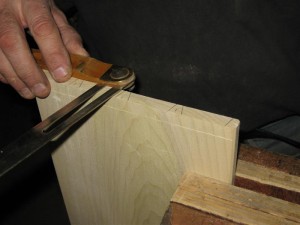
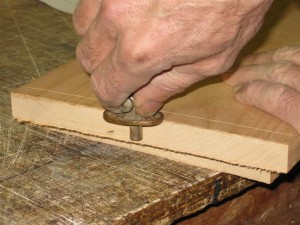
To do this, I use a marking gauge, set at the the drawer stock thickness plus 1/16″, to scribe a line on both sides and both ends of the fronts and backs.
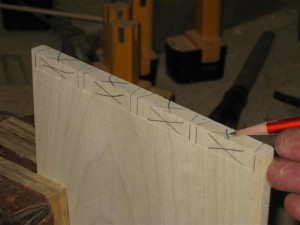
Next you need to mark out the location and size of the pins. You can make these any size you want, but generally the pine are smaller than the tails. The pins are typically set at 15 degrees, but here again you can use any angle you want.
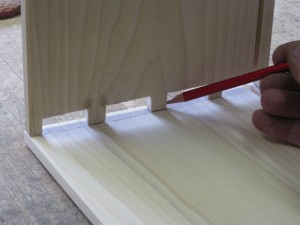
In this image the outside of the front is facing me (away from the camera). It is not critical to get the pins precisely located. They can vary in size and location, depending on the look you’re after.
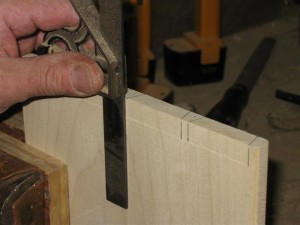
The pin location then must be drawn on both ends and down the face to the lines you scribed in the fist step.
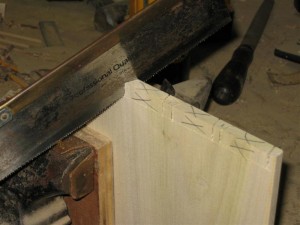
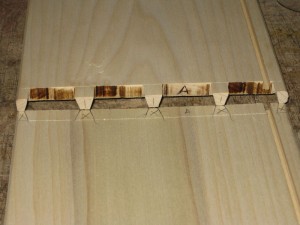
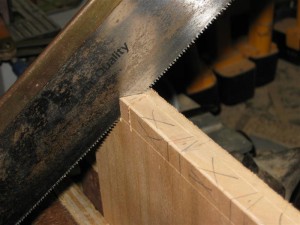
I recommend you put an X in the waste area to demarcate which side of the pencil line to cut. You may want to mark and cut each part before moving on to the next part, to keep from handling each part twice.
The outside of the drawer part is facing the camera.
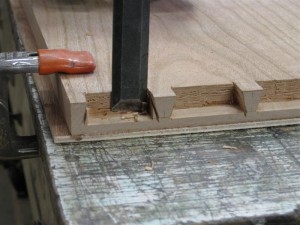
Next, take a dovetail saw and cut on the waste side of the pencil lines down to the scribed line, keeping an eye on both the angled endgrain line and the line down to the scribed line.
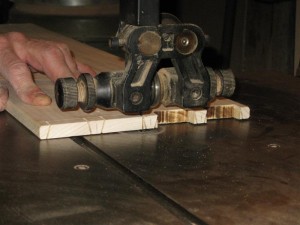
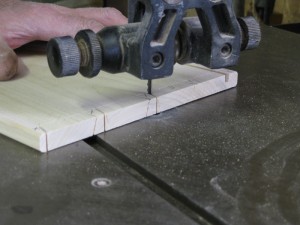
This is where I break from tradition. I then use the bandsaw to remove the bulk of the waste from between the pins. I’ll cut with the outside face on the table and follow the sawn line down to the scribe line. I then come in on an angle and cut along the scribe line to remove the waste.(Yea, I know, the blade is dull).
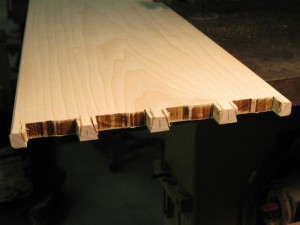
Notice the tiny tabs that are left behind. These are easily removed with a utility knife. No chisel work so far.
After all the pins are cut, you can then true them up if neccessary.
Now take a side and lay it on the bench, outside face down. Stand the front/back vertically on the side, between the scribe line and the end, up against the scribe line. Be sure the outside face of the front/back is facing away from you. You’re working from what is the inside of the drawer.
Now take a very sharp pencil or scribe and transfer the pin locations to the inside face of the side.
Put an X in the pin area of the side to mark the waste area and annotate that this end of the front/back goes with this end of this side. This is very important. If you don’t do this and you’re cutting multiple drawers, you will get mixed up and never figure out which tails go with which pins.
You can now go back to the bandsaw and remove the waste from between the tails, again staying on the waste side of the pencil line and cutting up to the scribe line.
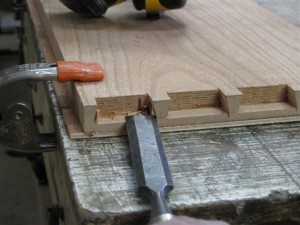
After all the tails are cut, test fit the tails with the mating pins and adjust with a sharp chisel where needed. They should be a snug fit not tight.
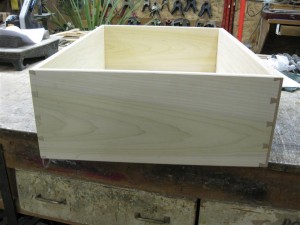
The back and sides of my drawer have through dovetails, which means they are visible from the side and back.
The front has blind dovetails, which means they are only visible from the side.
These pins are layed out the same way as the through dovetails, but don’t get cut all the way through the front. a second scribe line is placed on the ends of the front to the desired setback.
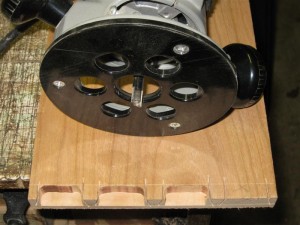
These pins can only be cut by hand and the waste removed with a router and chisel. Cut on the waste side of the pencil line and stop at both the side and endgrain scribe lines.
Layout the tails on the sides the same way as the through dovetails, except this time keep the end of the side flush with the bottom of the tailbay to scribe the pin locations. At this point decide which is the top of the top of the drawer and orient all your parts during layout accordingly. If it makes it easier, cut the dado for the drawer bottom before laying out the dovetails, this way it will be evident which is the inside and top of the drawer parts.
Place an X in the waste area of the oins and again annotate the mating pins/tails.
These tails can also be cut out on the bandsaw.
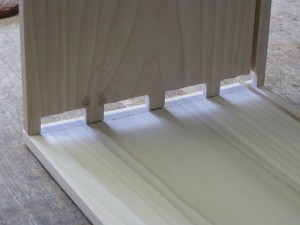
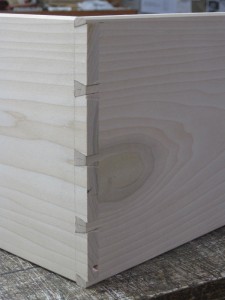
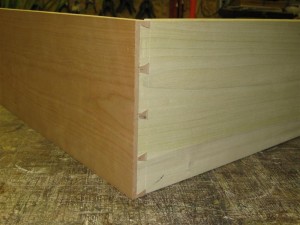
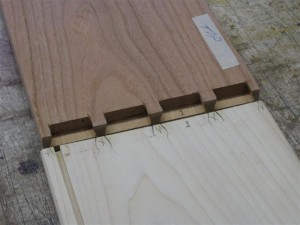
The dry fit drawer.
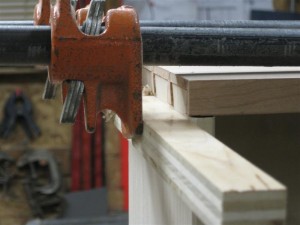
Remember the pins were cut slightly longer then the thickness of the drawer sides. When clamping up the finished drawer, use strips of wood just below the pins, to seat the tails firmly in the bottom of the tail bays.
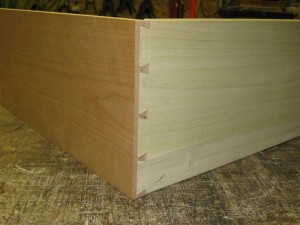
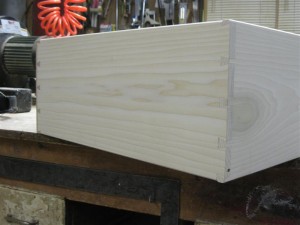
The finished product
