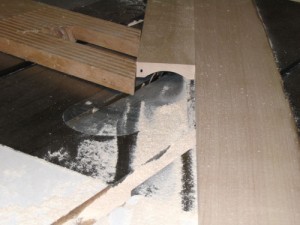
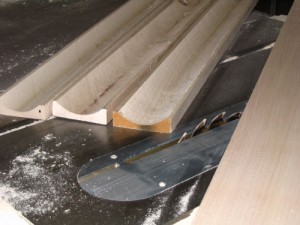
Making Cove molding on the tablesaw A vast majority of the time when cove molding is required on my projects, I can’t use any of the commercially available styles or the styles available don’t come in the species I need.
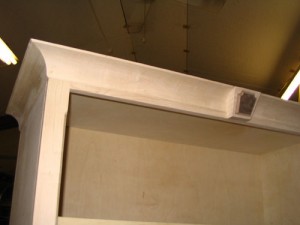
Below is the method I use to create cove molding on the table saw. The only tools I used for the cove pictured above was a table saw, a curved cabinet scrapper and sand paper. If you utilize this technique it is relatively safe and easy to create varying styles of cove and combined with the multitude of router or shaper cutters available, you can create just about any style cove you can dream up. To start, you must use a parallel gauge to set up the saw for proper angle and depth of cut.
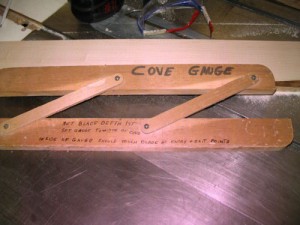
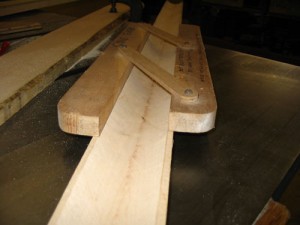
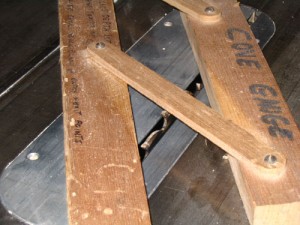
If you don’t have a parallel gauge, you can easily make one from two pieces of scrape of like dimensions. Set the two pieces tight against each other and attach them with two arms mounted parallel to each other at some distance apart and at the same distance in from the edges of the main bars. As you pull the bars apart they will remain parallel. Determine the size of your cove. I had a piece left over from a previous job to facilitate the setup. Set a parallel gauge to the desired width of your cove.
Now set the blade height to the final depth of the cove.
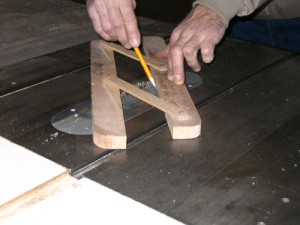
Next set the parallel gauge at an angle to the blade so that the front of the blade as it enters the table just kisses one leg of the gauge while the other leg just kisses the back of the blade as it exits the table.
Once you have the angle set with the method above, without moving the parallel gauge, draw a pencil line on the saw table, along the inside edge of the gauge bar that is at the front of the blade.
This is the line at the correct angle to which you will set an auxiliary fence to cut your cove and represents the point where the cut ends. Be sure to set the fence back from this line enough to give you some room to add an additional profile along the outside edge. Notice in the image of my finished cove, there is about �” flat outboard of the cove. This is the distance my fence was set back from the line.
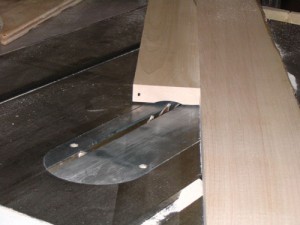
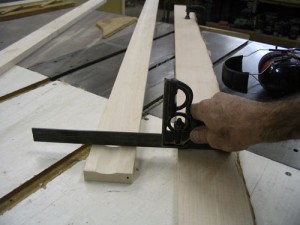
Now take a straight board of sufficient length to clamp at the front edge and the left edge of the table saw at the distance from the line necessary to achieve the desired results. Always set the fence at the front of the blade. This will keep the stock up against the fence during the cut. Do not put you fence at the back side of the blade as the blade will pull the stock away from the fence, ruin your cove and you’ll get a free manicure along with it.
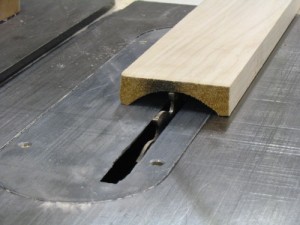
The fence and the stock after the first cut.
Next lower the blade to a maximum cut of 1/8 inches. You’re now ready to start cutting your cove. You’ll want to take many small cuts to achieve the final depth.
Going from your lower right to your upper left, very slowly start feeding your stock into the blade. Be sure to hold the stock against the fence and firmly down on the table. You are actually cutting with the side of the blade, so don?t rush the cut.
The result of the first pass. The start of the second pass. If you’re uncomfortable with this set up you can set up a fingerboard also.
After the final pass.
The middle piece is the one pictured in the first picture of this article.
Now all you need to do is cut your back bevels, add any additional desired profiling with a router or scratch stock and scrape and sand the saw marks out.
You’ll be amazed at how easy it is to create your own designs of cove with this method.
