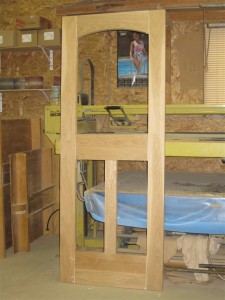
Building a full size door
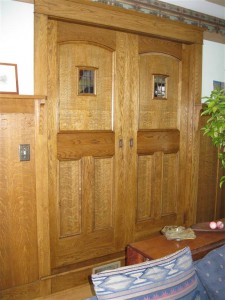
There are many ways to construct an entry/interior door. The type of door and it’s application will determine how you build it. In this article I will describe how I built two interior pocket doors.
After determining the style and size of your finished door, you have to create a cut list for the stiles and rails. If you going to use a cope and stick pattern cutter set, you must allow extra width on the stiles and length and width on the rails to accommodate the cope and stick between the stiles and rails.
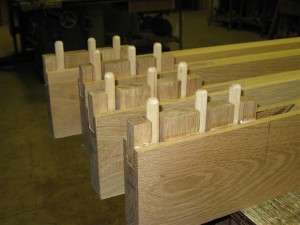
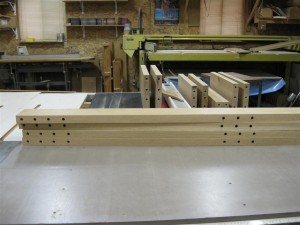
Take note, the cope and stick joint in itself is not strong enough to keep a heavy door from racking. You must reinforce the joint with 1/2×4” dowels. The dowel holes must be drilled prior to cutting the cope or stick pattern.
In this article, my door has panels that are stopped in from both sides, so I won’t be using the cope and stick method. Instead I’ll be utilizing a ¾ x 2” full length spline along with the dowels at each joint.
I could also use a dado and 1” tenon setup, but that would mean I then have to drill 3” deep holes in the endgrain of the rails. The dowels need to extend 2” into each part. My boring machine will not accommodate that depth, so I substituted the spline instead.
The door described below is 1 ½ x 32 x 80 out of solid white oak, with quarter sawn white oak veneered panels.
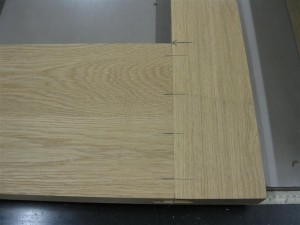
After sizing all my components, I layout the locations of the dowels and the rail locations on the stiles.
Transfer these marks to the other stiles, then the rails.
At this point you would cut the cope and stick on your shaper and not follow the rest of this article, if you were using that method to construct your door. Also keeping the same side of the door components face down on the shaper bed.
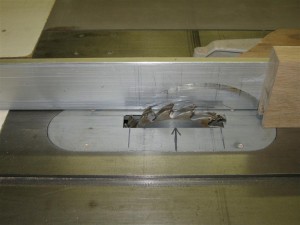
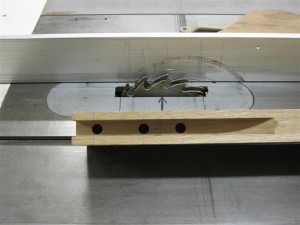
After holes get bored, I set up my saw with a ¾” stack dado set, which extends 1 1/32” above the table. This allows for a 2” spline in the joint with a little wiggle room.
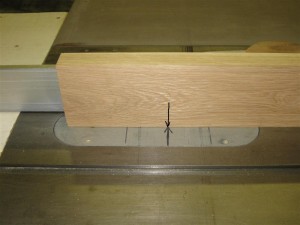
You’ll want to mark the location where the blade exits and enters the table, locate the midpoint and mark that point. This point represents the maximum depth of cut the dado blade will make. You will start and stop the dado cuts at this point. The location mark on the stiles of the rails will line up with this mark at the start or end of the cut.
Be sure to orient all your components with the side that will go against the fence. It is recommended to keep the same side of a door against the fence in the event the dado is not perfectly centered in your stock.
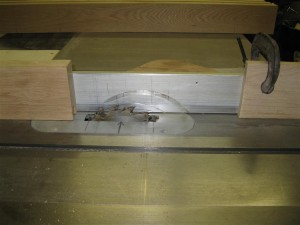
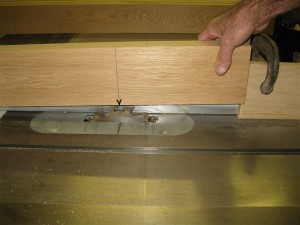
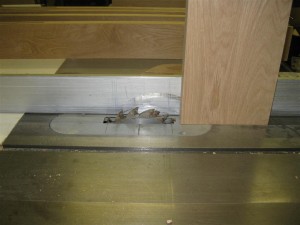
One end of the stiles will enter the blade from the front, the other end must be dropped, VERY SLOWLY on the blade from the rear. You will need to position a stop block on the fence to prevent the stock form taking off across the shop.
The mid stile dados were cut with no stop block. These stiles are fairly heavy and with a slow feed are safely cut.
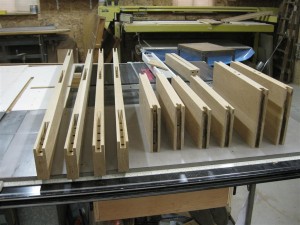
The radius of the dodo cut goes beyond the point where the rails join the stiles. The extra dado length will not be of any consequence as the stopped in panels will hide the dado.
Next, stand the rails up and dado the ends. A slow feed rate will be needed here because you’re cutting a wide, deep dado in endgrain.
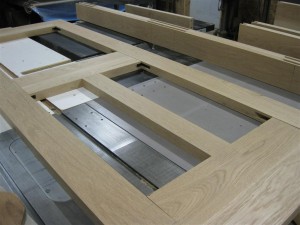
The door is now ready to be assembled.
If you’re using the cope and stick method, you would insert your panels during the assembly process. Or you can also stop your panels in from one side.
Either method can also be used to build cabinet doors. The dowels would not be needed for these though.
